
Knowing how much visitors you get on your website and where do they come from is very important. Google Analytics helps you achieve this very easily and for FREE. This article will show you how to setup Google Analytics for your WordPress website.
Having Google Analytics is a great tool for measuring a ton of statistics on your website. Some of the major features being:
How much traffic are you getting on your website?
Where is your traffic coming from?
What are the demographics of your traffic?
Which posts are being liked?
What is the bounce rate?
And much more…

To set up Google Analytics on your WordPress website follow these very basic instructions:
Signing Up for Google Analytics on WordPress
Step 1: Sign-In to Your Google Account
First, you need to connect your website with Google Analytics. This essentially means you need to create an account.
Follow this link analytics.google.com. You will see a page like the one below where you need to sign-in using your Google/Gmail account.
If you don’t have a Google Account then create one using the ‘Create account’ button.

Step 2: Sign Up for Google Analytics
Once you have signed in to your Google Account you will be directed to a page like the one below.
This is the page where you can sign-up for a Google Analytics account.

Step 3: Set Up Google Analytics
Click on the ‘Sign Up’ button. You will see a page like the one in the screenshot below.
Make sure to choose the option for a Website.
Choose a name for your account.
Then enter the URL for your website Homepage (e.g https://thewomanblogger.com).
Select the category that fits your website the most and choose your local time zone.
Recheck the details filled in and move on to the next step.

Step 4: Get Tracking ID
Now scroll down to the bottom of the page.
Check or uncheck the boxes as per the requirements of your website.
Then click on the ‘Get Tracking ID’ button.
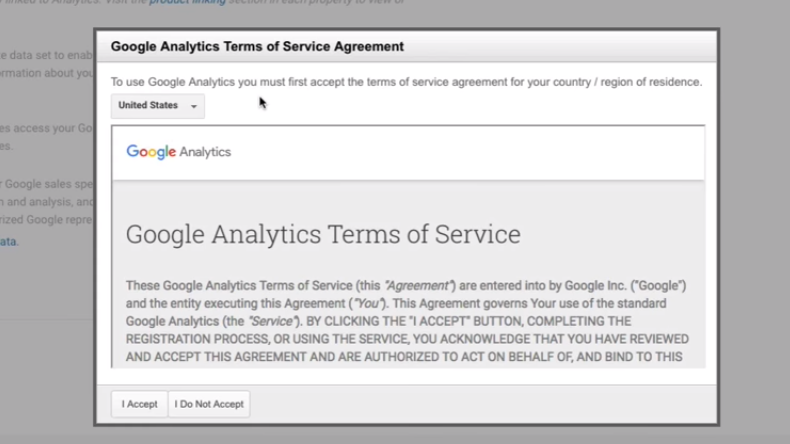
You will be prompted to agree to the Google Analytics Terms of Service.
Select your respective country if you want to read the TOS.
You might need to scroll to the bottom of the document to be able to click on the ‘I Accept’ button.
Once you are through move on to the next step.
![]()
Step 5: Installing MonsterInsights – Google Analytics Plugin For WordPress
After you have accepted the Terms of Service go to your WordPress Admin Dashboard.
Log In if you need to. Once you have logged in hover over the ‘Plugins’ option in your sidebar and click on ‘Add New’.
Then type ‘Monsterinsights’ in the search bar.

Once the search is complete click ‘Install Now’ for the plugin ‘Google Analytics for WordPress by MonsterInsights’.
Wait for the Installation to complete.
After the installation is complete the button color will change to blue.
Click on the ‘Activate’ button and then move on to the next step.

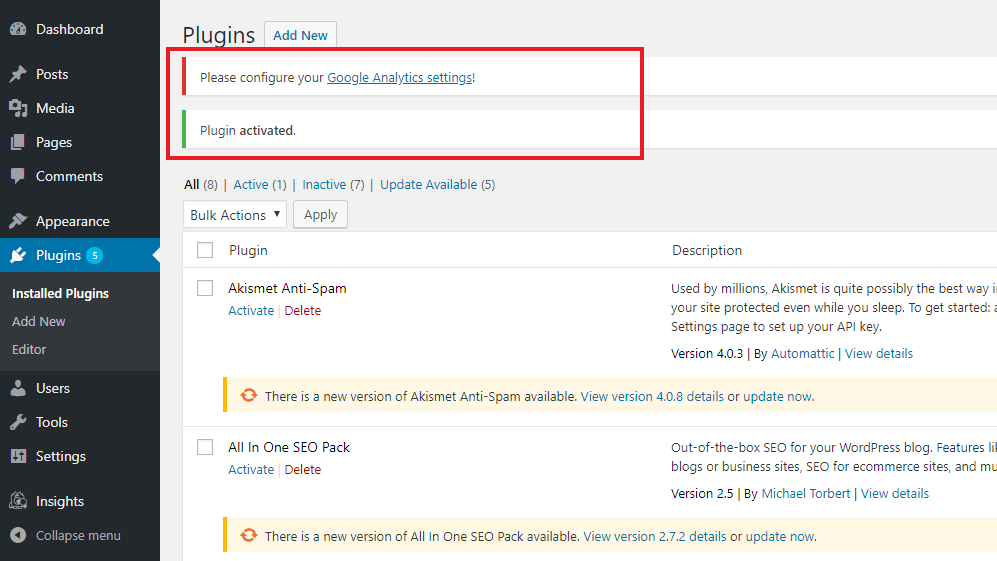
Step 6: Configure Google Analytics Settings
Once the plugin is activated, you will see these 2 messages pop-up on top of your WordPress Admin Dashboard.
Click on ‘Google Analytics Settings!’ link to go to MonsterInsights settings page.
Once you are on the settings screen click on ‘Authenticate with your Google Account‘.
After clicking you will be redirected to ‘Sign in with Google Page’.
Allow ‘monsterinsights.com’ to access your Google account.
After allowing you will be asked to complete authentication.
Click the button highlighted in red to complete the integration with Google Analytics and return to WordPress Admin Dashboard.

Step 8: View Insights
Now in order to view your Google Analytics details, Hover over ‘Insights’ Option in the WordPress Admin Sidebar (Left Side).
Click on ‘Reports’ to go to view the Analytics for your website.
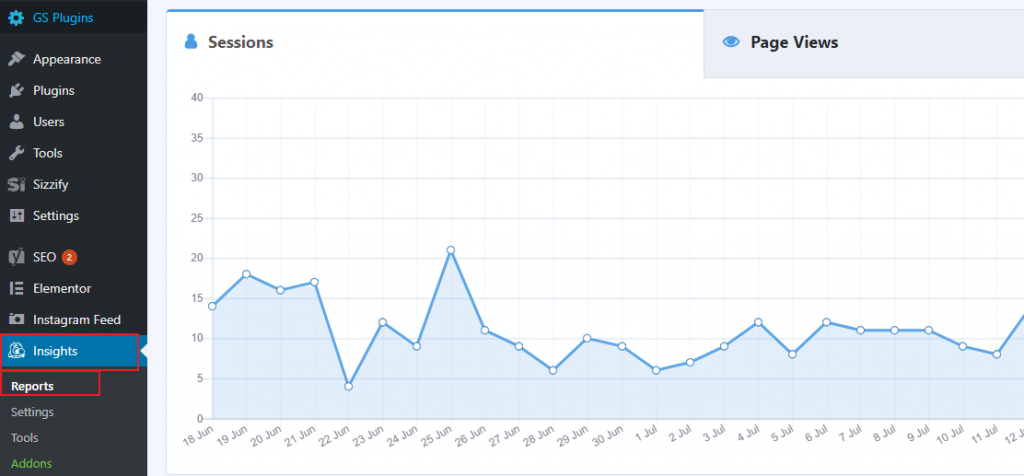
There you have your Google Analytics installed on your WordPress website. You can try different options in the MonsterInsights reports section and also change settings from the settings tab.
For any sort of queries or problems regarding this tutorial comment below so I can reach out to you.


Hiya! I simply wish to give a huge thumbs up for the nice data you might have here on this post. I will be coming back to your weblog for extra soon.